NordVPN is one of the world’s best virtual private network providers. Launched in 2012, it’s proven itself completely secure and trustworthy. It gives you secure access to personal information and online identity private.
But more than that, VPN gives you an opportunity to stream your favourite movies and TV shows even when they aren’t available in your country. Or in case the movie you want to watch is available in your country, but on a less prominent provider. Yet another case of VPN usage is when you stay in a country with really strict censorship and your usual streaming service is banned entirely.
By installing NordVPN, you allow yourself to forget about all the content restrictions in your location and enjoy some quality movies and TV shows. Are you afraid of installing NordVPN on your computer? Don't worry, it's very easy and secure. We will help you to get there.
What is NordVPN and its main features?
As we said above, NordVPN is one of the world’s leading VPN providers, which lets you keep your privacy while browsing the internet, so you can be sure there are no any data leaks. But more than that, you can also enjoy watching your favourite movies and TV shows even when they are not available on the streaming services in your country, or when you travel abroad.
Main features:
- Uninterrupted streaming - Some Internet providers deliberately slow down internet speed at peak times, and it can totally ruin your streaming, unless you are a VPN user. NordVPN will save your movie night by bypassing this limitation and will give you a fast connection when streaming or downloading media content.
- NordVPN has VPN servers everywhere - You can choose from over 5,600 servers in 60 countries. No more limits, no more borders, no more internet censorship.
- Split tunneling - With this feature, you can choose which apps need VPN protection and which can access the internet directly. The first group benefits from the safety of the secure tunnel of your VPN, while the second group enjoys faster speeds and access to local services.
For more features, you can visit the NordVPN website.
How to install and set up NordVPN?
The first things to do now are sign up and download NordVPN. It's really simple, just follow these steps:
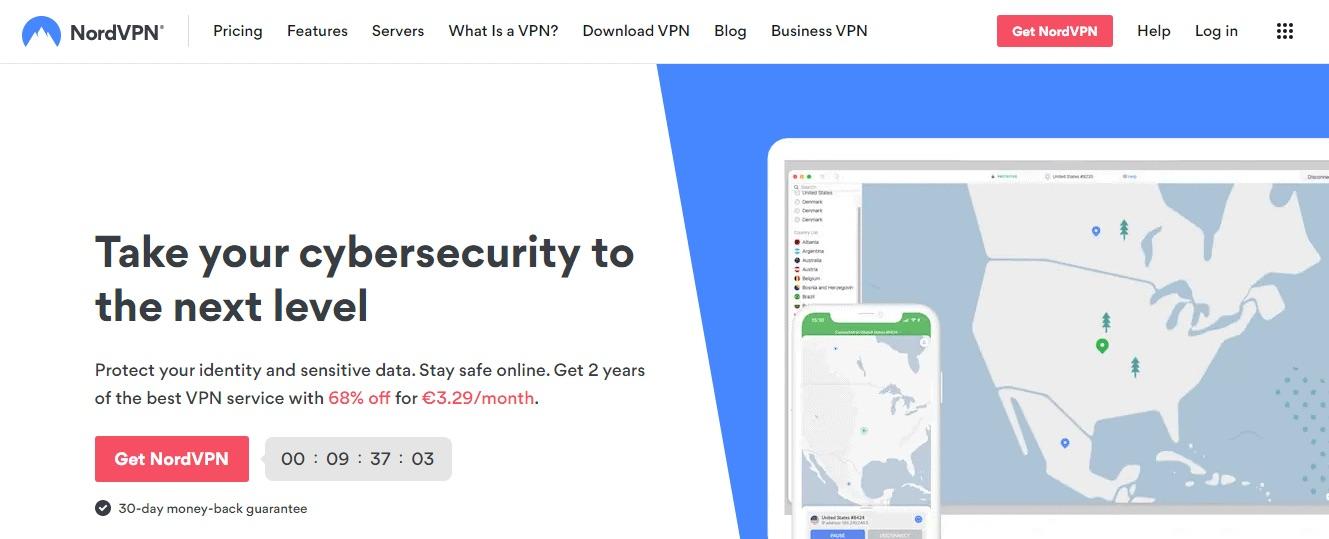
- Go to NordVPN website and click on “Get NordVPN” button (the top-right corner of the site).
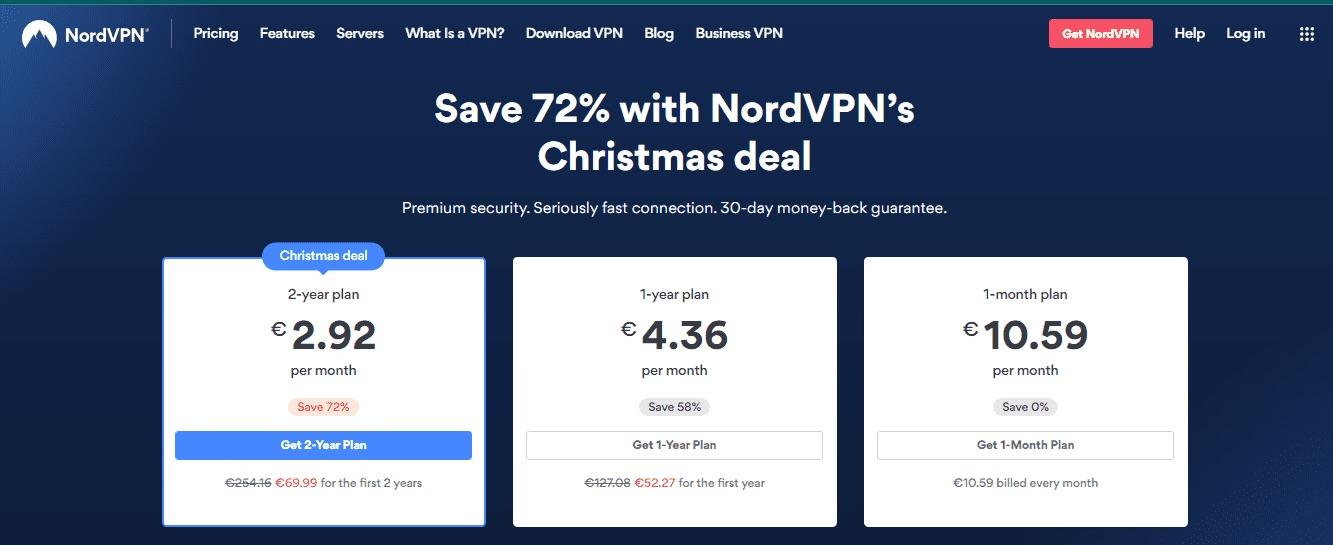
- Choose a Plan, which suits you best and is within your desired budget. Keep in mind, that you cannot create an account without choosing a plan, but you have a 30-day money-back guarantee, in case you change your mind. If you are signing up for the long run, you better consider choosing a two-year plan, as it works out more affordable.
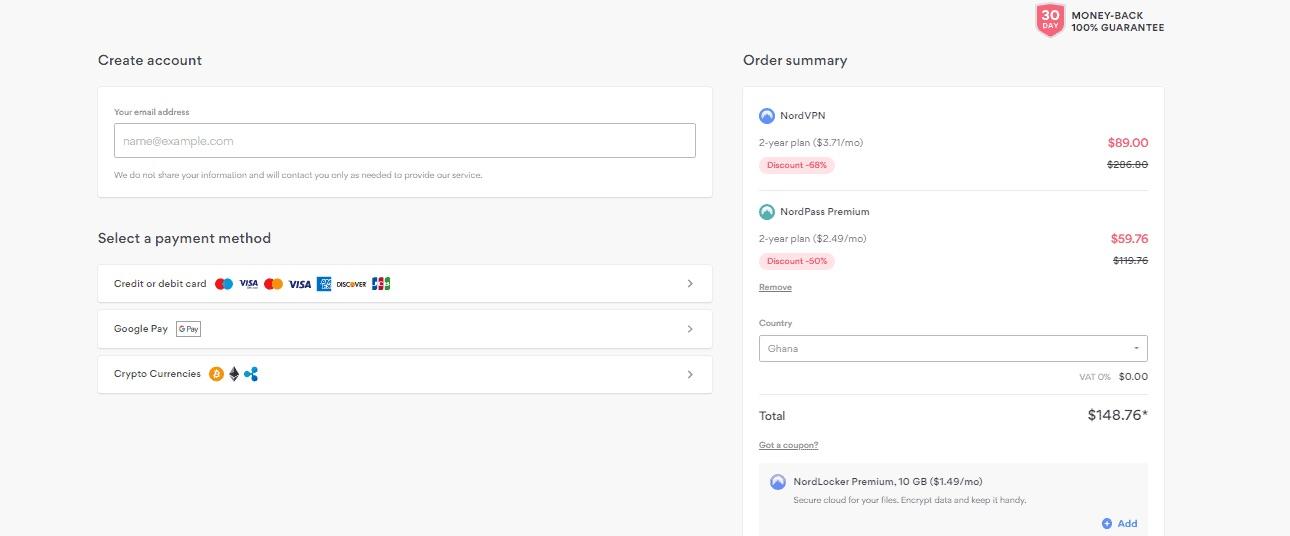
- Create Account and Select Payment Method. Enter your email address to create an account and fill in all your details regarding payment. Then select a payment method and fill in your details. Be sure to review your order summary before confirming your purchase.
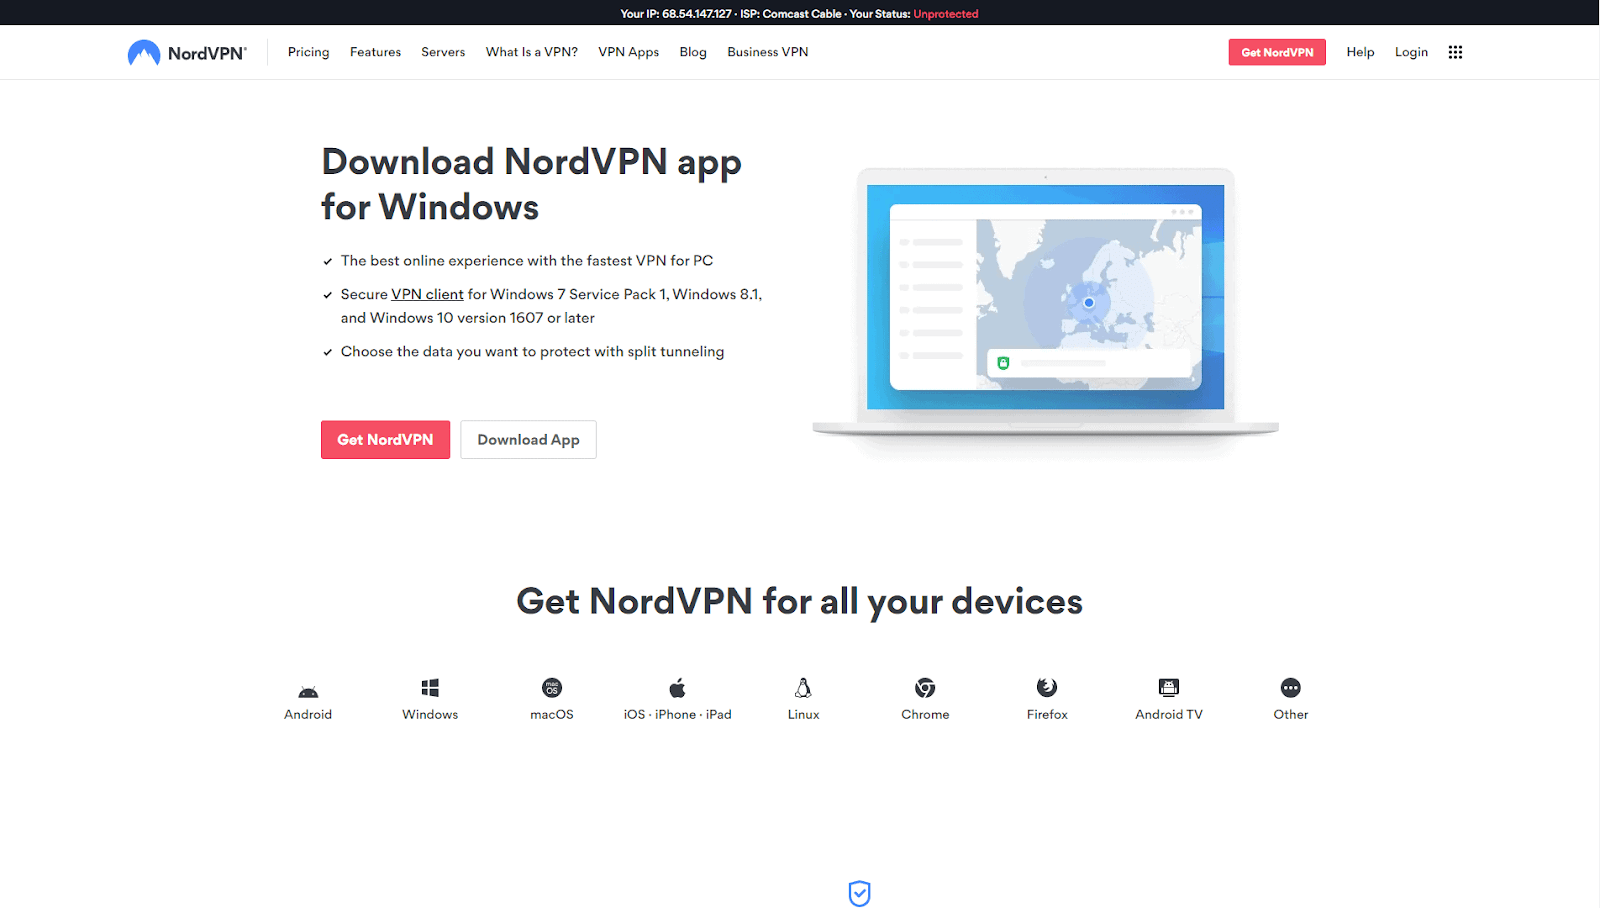
- Download the app by clicking the “Download VPN” button. You will be redirected to a page with operating systems options (e.g. Windows, iOS, Linux, etc.). NordVPN has an app for any platform and operating system, so you just need to scroll down to find the download button for your device. After choosing it, click on the “Download App” button.
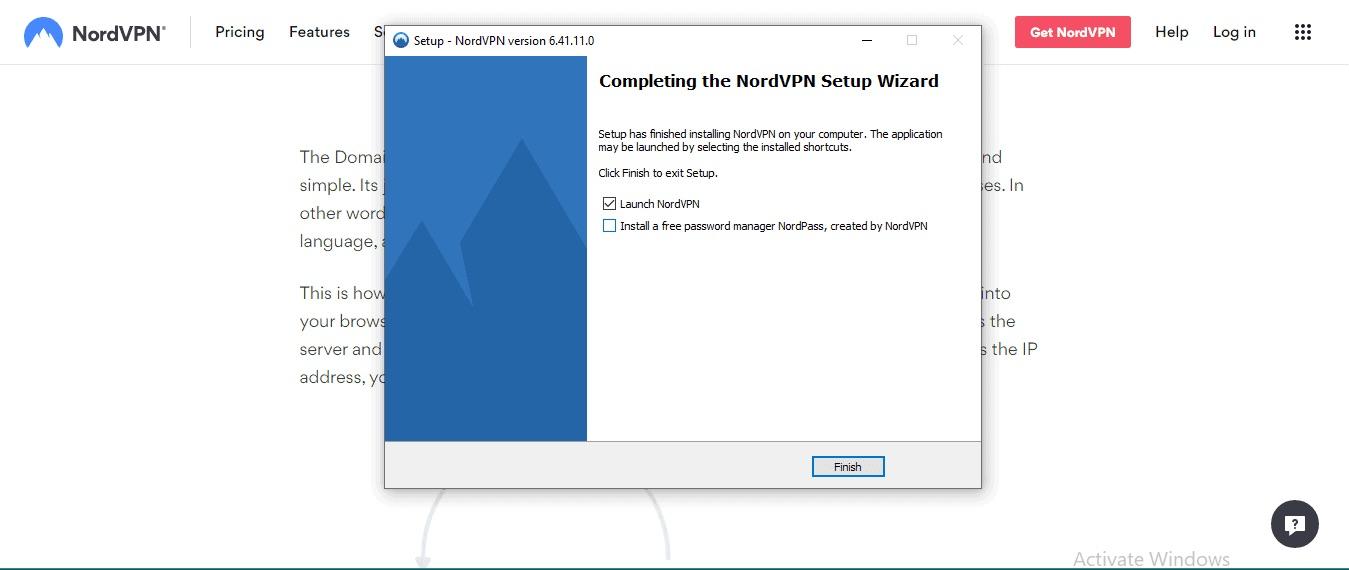
- VPN installation is really easy, you just need to double-click the saved file (downloaded previously) to begin the process. You will get a message asking if you agree to the changes NordVPN will make on your computer, you should agree with it and with any following messages to complete the process.
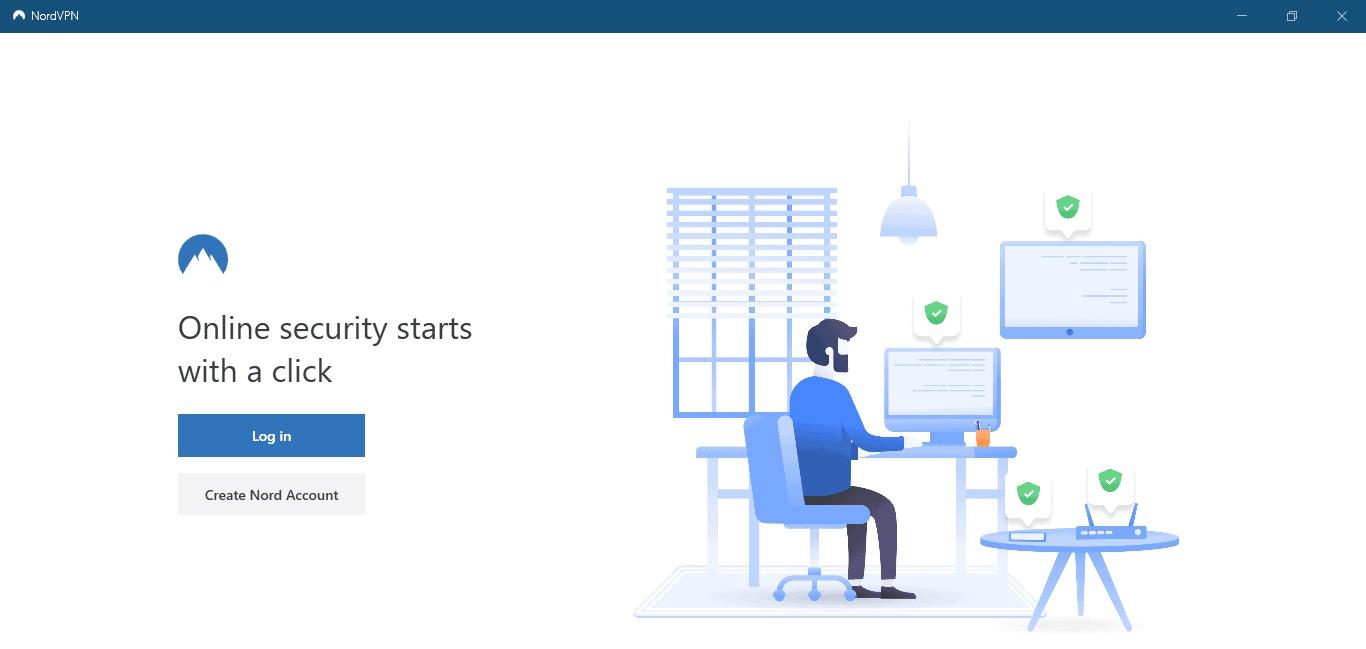
- Log in to your account. When you use NordVPN app for the first time, you will be asked to enter your login information. By clicking the login button, you will be redirected to NordVPN’s website to enter your username/email address and password.
- Set up your account, this step is all about your preferences and taste. You simply navigate to “Preferences” and then to “Settings”.
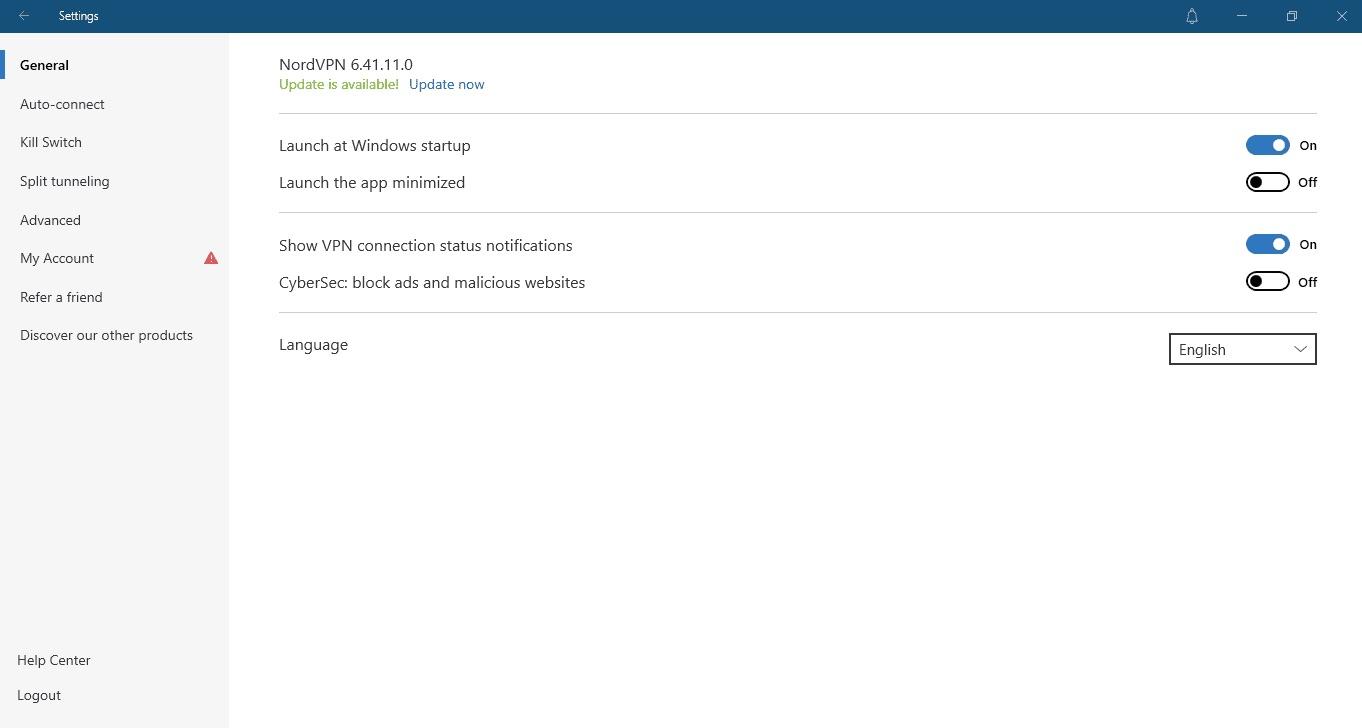
By clicking “Auto-Connect” button, you can choose your preferred location and default settings.
By activating “Kill Switch”, you prevent your data from leaking to the web. It continuously monitors your connection to the remote server. If it accidentally drops, the VPN Kill Switch blocks internet access for your device (or specific apps).
“Split tunneling” helps you choose which apps need VPN protection and which can access the internet directly. The first group benefits from the safety of the secure tunnel of your VPN, while the second group enjoys faster speeds and access to local services.
How to connect NordVPN and start streaming your favourite movies and TV shows
When you have successfully logged in and enabled the auto connection, you are basically ready to go!
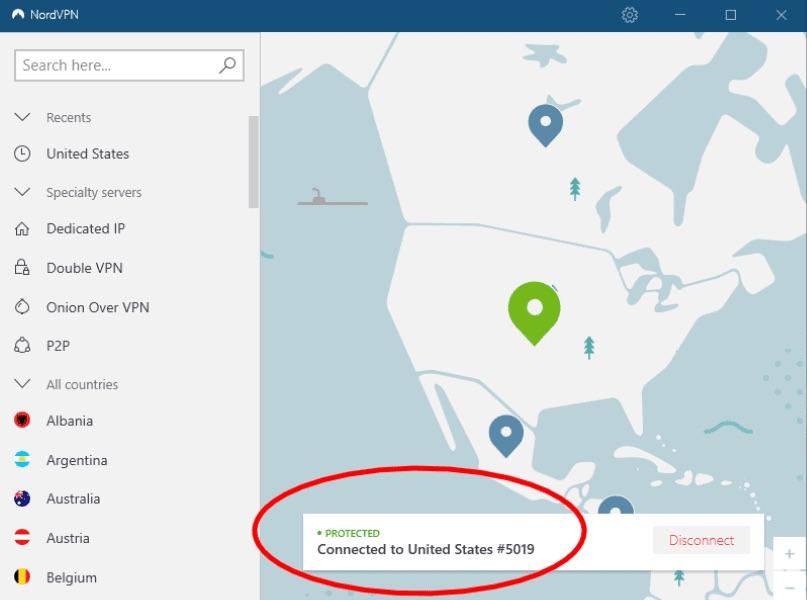
But we would still like to show you, how you can change your server manually. You can do it by choosing a specific server from the list of countries in your app, or use a search bar, if you don’t see the desired country in the list). Another option is to click the “Quick Connect” button for an automatic connection to a recommended server based on your location. Also, you can use the interactive map and just click on any location available.
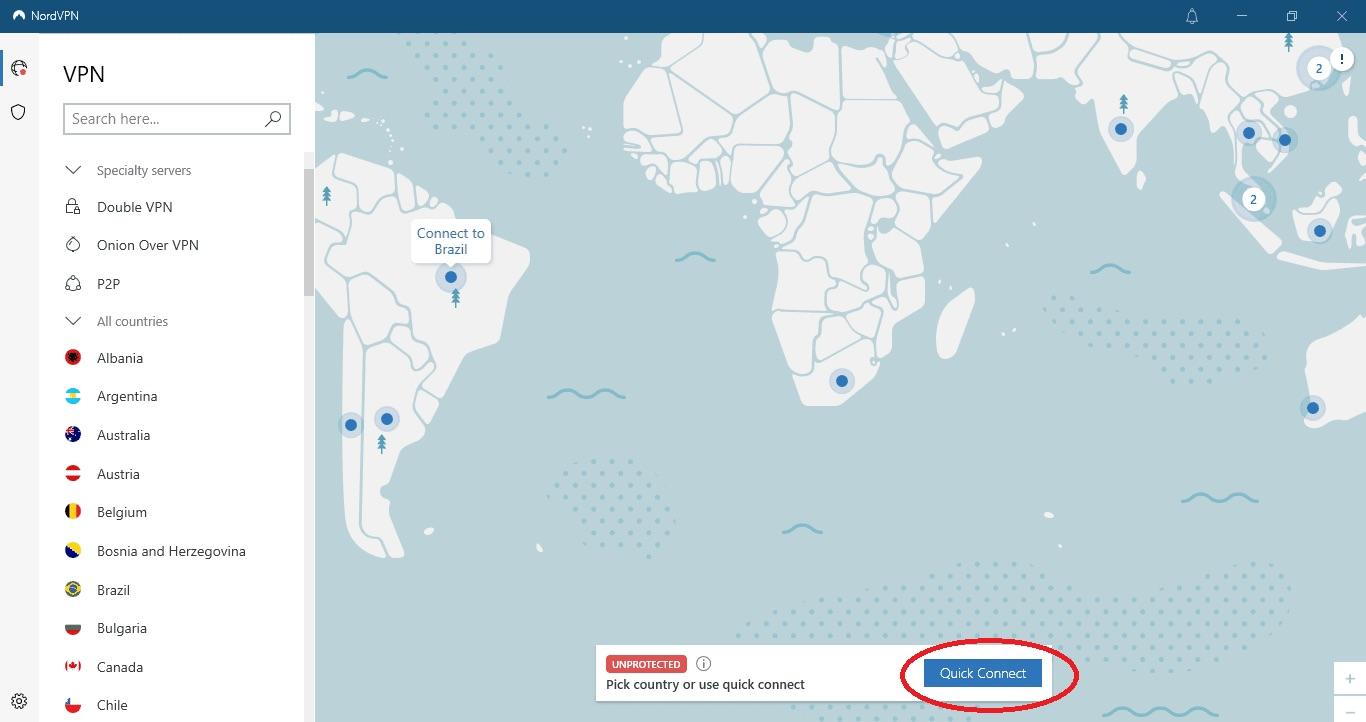
The last step to take is connecting to the chosen server. Just click on it and that’s it - you will see your server becoming green on the map and the word “protected” appearing on the screen. Now you can relax and enjoy your movie night!
Conclusion
As you can see, NordVPN has been on the market for a good ten years now and has users all over the world. The whole downloading and setting up process is very user-friendly and takes only a few minutes of your time. We hope that our article was helpful to you, and you are now ready to give NordVPN a try.